TP-Link Deco X60 at a glance
| Wireless | AX3000 WiFi 6 mesh |
|---|---|
| Management | Deco app |
| Hardware | Several revisions and pack variants |
| Modes | Router and Access Point |
| LED principle | Pulsing blue ready; red fault; normal green/white by revision |
Match the X60 hardware and pack version
Deco X60 appears in one-pack and three-pack listings with several hardware revisions. Firmware and user guides must match the label, not merely the retail kit name.
Create the network with one main X60
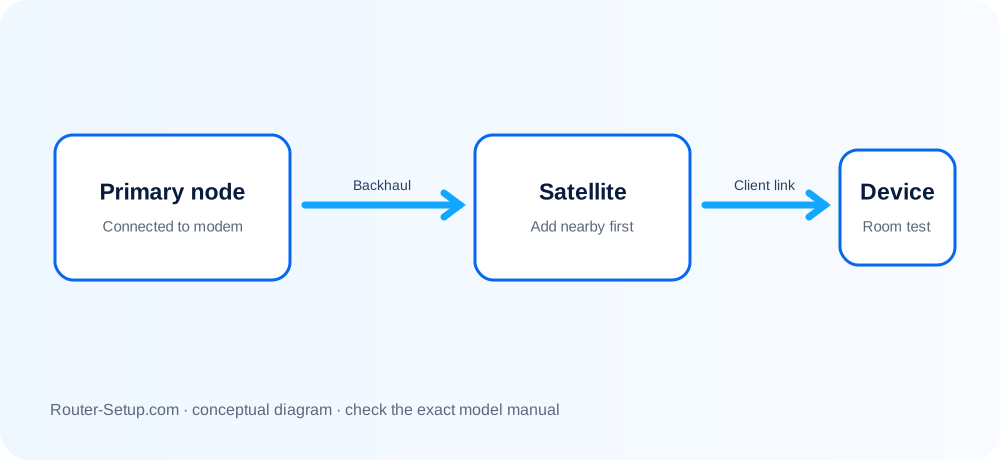
Connect one X60 to the modem and wait for pulsing blue. In the Deco app create the network, select the location and complete Internet detection before adding more nodes.
Add and place satellites using measured backhaul
Add X60 satellites close enough for discovery. A node near the final room but showing weak backhaul should be moved toward the main unit or connected by Ethernet.
Interpret red without resetting the whole mesh
A solid red main X60 points to modem, cable, ISP, DNS or MAC binding. A red satellite points to its link with the main mesh. Reset only the failing node after simpler checks.
Understand feature changes in AP mode
AP mode avoids double NAT behind an ISP router but makes the upstream device responsible for DHCP, port forwarding and other routing. Guest isolation and HomeShield options can differ by mode and firmware.
Complete DECO X60 setup sequence
X60 setup separates primary-node Internet, satellite onboarding and optional Ethernet backhaul. Complete each stage in the app before changing node location or cabling.
Select one X60 as main Deco, cable it to the modem/ONT and wait for the setup-ready pulsing blue state
Select one X60 as main Deco, cable it to the modem/ONT and wait for the setup-ready pulsing blue state.
Use the Deco app to create the network, complete ISP detection and verify the main unit is online before adding nodes
Use the Deco app to create the network, complete ISP detection and verify the main unit is online before adding nodes.
Add X60 satellites in the same room or nearby, one at a time, then label their intended rooms
Add X60 satellites in the same room or nearby, one at a time, then label their intended rooms.
Move each node gradually and check signal source; do not place a satellite in the dead zone it is meant to repair
Move each node gradually and check signal source; do not place a satellite in the dead zone it is meant to repair.
If using Ethernet backhaul, finish app setup first, then cable through a loop-free switch path and confirm the wired link
If using Ethernet backhaul, finish app setup first, then cable through a loop-free switch path and confirm the wired link.
Review Router versus Access Point mode based on which device should own DHCP/NAT and parental/security features
Review Router versus Access Point mode based on which device should own DHCP/NAT and parental/security features.
Update firmware in the app and test client association, wired satellite ports and roaming throughout the home
Update firmware in the app and test client association, wired satellite ports and roaming throughout the home.
Model acceptance checks
- Every X60 is online under one Deco network.
- The app reports the expected wireless or Ethernet signal source.
- An AX client roams between nodes without losing a continuous call.
deco x60 questions
When should X60 use Access Point mode?
Use it when an upstream router should continue to provide routing and DHCP.
Should Ethernet be connected before app setup?
Complete normal onboarding first unless the exact X60 documentation for the topology says otherwise.