Linksys EA7500 at a glance
| Family | Linksys Smart Wi-Fi router |
|---|---|
| Local access | myrouter.local or 192.168.1.1 |
| Management | Smart WiFi web interface |
| Reset | Use EA7500 hardware-version documentation |
| Firmware | Exact EA7500 hardware version required |
Check EA7500 hardware version
EA7500 variants can use different firmware. Read the model and version on the bottom label before downloading or restoring a configuration.
Start Smart Setup locally
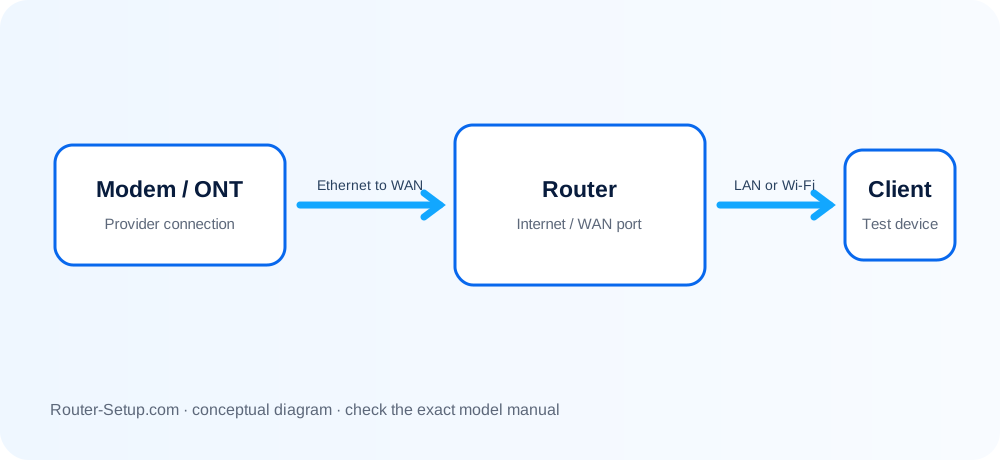
Connect the Internet port to the modem, join the default network and browse to the local setup page. If the wizard does not appear, confirm you are on the Linksys LAN rather than a mobile connection.
Local router password versus Linksys account
The local router password protects the device interface. A Linksys cloud account adds remote access on supported services; it is not a substitute for the local credential during offline troubleshooting.
When no Internet is detected
Check the yellow/Internet port, restart the modem and identify DHCP versus PPPoE. Do not factory reset just because the provider has an outage or the modem still remembers an old router.
Firmware and factory reset
Use Connectivity/Administration options presented by the EA7500 firmware. Match the hardware version, keep power on, and back up configuration. Reset duration must follow the specific EA7500 version guide.
Complete LINKSYS EA7500 setup sequence
EA7500 is a conventional dual-band Smart WiFi router, not a Velop node. Configure its yellow Internet port, local router password and two radios before optional cloud access.
Connect the modem to the yellow Internet port and a computer to a numbered LAN port
Connect the modem to the yellow Internet port and a computer to a numbered LAN port.
Start the modem, then EA7500
Start the modem, then EA7500. Join the label Wi-Fi and open the Smart Setup page locally.
Create the router password and optional Linksys account separately
Create the router password and optional Linksys account separately. Configure the detected ISP connection.
Set distinct or shared 2
Set distinct or shared 2.4/5 GHz names and WPA2-compatible security appropriate to the installed firmware.
Open Connectivity and confirm Internet/WAN status, time zone and automatic firmware preference
Open Connectivity and confirm Internet/WAN status, time zone and automatic firmware preference.
Back up settings and, for a manual upgrade, match the exact EA7500 hardware version shown on the label
Back up settings and, for a manual upgrade, match the exact EA7500 hardware version shown on the label.
Test both bands, wired ports, guest access and any media-prioritisation rule before considering setup complete
Test both bands, wired ports, guest access and any media-prioritisation rule before considering setup complete.
Model acceptance checks
- Connectivity shows an active WAN connection.
- Both radio bands and a numbered LAN port pass testing.
- The manual firmware file, if used, matches the EA7500 hardware version.
linksys ea7500 questions
Is EA7500 a Velop node?
No. It is a conventional Smart WiFi router with a different setup and management workflow.
Do I need a Linksys cloud account for local access?
No. Local router access uses the router password; cloud access is a separate supported feature.