Netgear Nighthawk R7000 at a glance
| Wireless class | AC1900 dual-band WiFi 5 |
|---|---|
| WAN/LAN | 1 Gigabit Internet port; 4 Gigabit LAN ports |
| USB | USB 3.0 and USB 2.0 ports |
| Management | Nighthawk app and web interface |
| Local address | routerlogin.net / typical 192.168.1.1 |
R7000 cabling and first boot
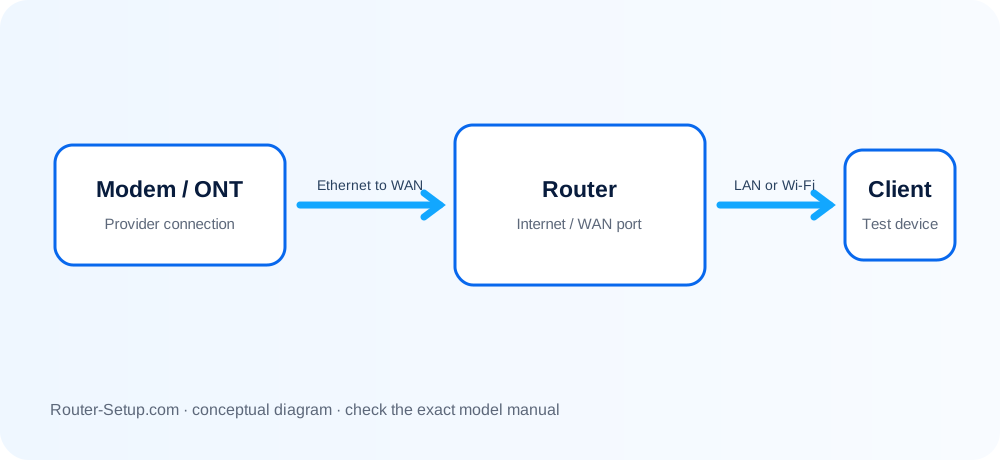
Attach the three external antennas before powering the unit. Connect the modem to the yellow Internet port—not one of the four LAN ports. Start the modem first and wait for its upstream indicators, then power the R7000.
Browser setup versus Nighthawk app
The R7000 supports the Nighthawk app, but its mature web interface is important for advanced controls such as Internet parameters, ReadySHARE USB storage and detailed administration. From the R7000 network, open routerlogin.net and follow the Internet Setup wizard.
When the Internet LED stays amber
Confirm the cable is in the yellow Internet port. If the modem previously served another router, power it down long enough to clear the old device lease, then start modem followed by R7000. Check BASIC > Internet for the WAN address and PPPoE credentials when applicable.
R7000 firmware and configuration backup
Use ADVANCED > Administration > Router Update. Before a manual change or reset, use ADVANCED > Administration > Backup Settings. Never install firmware for R7000P, R7000v2 or another similarly named unit.
Factory reset and recovery
With the router powered, use the recessed Reset/Restore Factory Settings control following the R7000 manual. A reset erases the SSID, WiFi key, Internet settings, port forwards and admin password. Reconfigure rather than importing a backup from another model.
Complete NETGEAR R7000 setup sequence
This R7000 procedure covers its yellow Internet port, dual-band web configuration, ReadySHARE-era administration and exact R7000 firmware safeguards. Do not apply it to R7000P or another suffix.
Attach all three antennas and connect the modem to the yellow Internet port
Attach all three antennas and connect the modem to the yellow Internet port. Use a LAN port for the setup computer.
Start the modem, wait until online, then power the R7000
Start the modem, wait until online, then power the R7000. Join the label SSID or connect by Ethernet.
Open routerlogin
Open routerlogin.net and complete Internet Setup. Verify BASIC > Internet shows a WAN address.
Open Wireless to set the 2
Open Wireless to set the 2.4 GHz and 5 GHz names, WPA2-AES/WPA3-compatible security supported by the firmware, and a new passphrase.
Change the local admin password and complete password recovery
Change the local admin password and complete password recovery. Back up under ADVANCED > Administration > Backup Settings.
Check ADVANCED > Administration > Router Update
Check ADVANCED > Administration > Router Update. Use only R7000 firmware—not R7000P or another suffix.
Verify both bands, four LAN ports and any ReadySHARE USB function you intend to use
Verify both bands, four LAN ports and any ReadySHARE USB function you intend to use.
Model acceptance checks
- BASIC > Internet shows a valid WAN address.
- Both 2.4 GHz and 5 GHz SSIDs accept a freshly joined client.
- The exported backup and installed R7000 firmware version are recorded.
netgear r7000 questions
Can R7000P firmware be installed on R7000?
No. A similar product name does not make firmware interchangeable. Use the file for the exact label.
Why is the R7000 Internet light amber?
Check that the modem cable is in the yellow Internet port, restart modem before router and inspect the WAN address.