Netgear RAX50 AX5400 at a glance
| Wireless class | AX5400 dual-band WiFi 6, six streams |
|---|---|
| Antennas | 4 external antennas |
| WAN/LAN | 1 Gigabit Internet; 4 Gigabit LAN |
| USB | 1 USB port |
| Important revision | RAX50 and RAX50v2 documentation/firmware must be matched |
Identify RAX50 versus RAX50v2
Read the bottom label before downloading anything. Netgear documentation covers both names in some manuals, but firmware packages remain model/revision sensitive. Record the serial, hardware name and current firmware from the admin page.
Physical installation
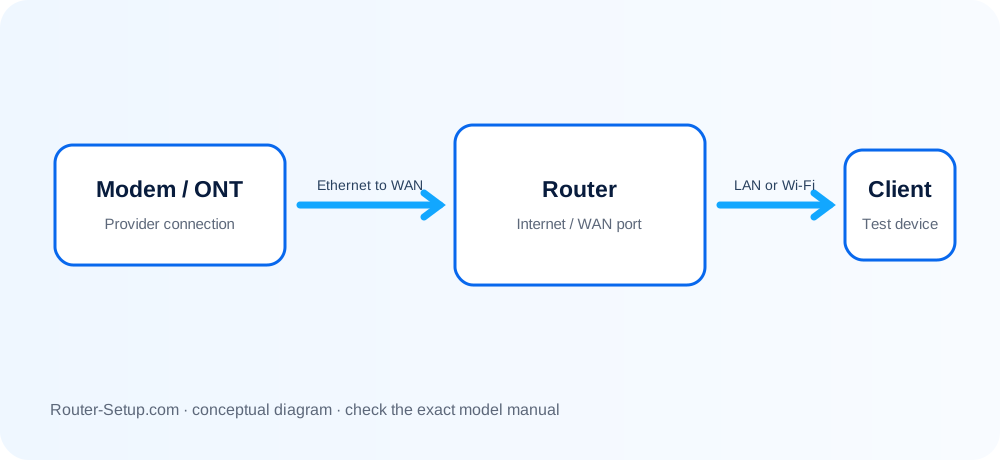
Fit all four antennas and leave clearance around the router. Connect the modem to the dedicated Internet port. The four LAN ports are for wired clients. Reboot the modem if it had been locked to the MAC address of an older router.
Nighthawk setup and manual fallback
The quick-start path uses the Nighthawk app. If app installation fails, connect directly to the printed WiFi and use routerlogin.net. Keep mobile data and VPN off during local discovery.
WiFi 6 compatibility diagnosis
An older client may connect using WiFi 5 even when the RAX50 is operating normally. If one device cannot see or join the network, update that device driver, test WPA2/WPA3 compatibility and avoid changing every radio setting at once.
Firmware update without interruption
Use the Nighthawk update check or ADVANCED > Administration > Router Update. A manual update requires the exact RAX50/RAX50v2 file. Keep power connected and wait for the full reboot before testing.
Complete NETGEAR RAX50 setup sequence
Commission the RAX50 as a WiFi 6 router, then test one AX client and one older 2.4 GHz device. This catches both modern-performance and legacy-compatibility problems.
Connect the modem to the dedicated Internet port and start modem before RAX50
Connect the modem to the dedicated Internet port and start modem before RAX50.
Use the Nighthawk app for guided onboarding or routerlogin
Use the Nighthawk app for guided onboarding or routerlogin.net for local setup. Create the admin credential requested by the wizard.
Confirm the WAN method and obtain a non-zero Internet IP before tuning Wi-Fi
Confirm the WAN method and obtain a non-zero Internet IP before tuning Wi-Fi.
Set the WiFi 6 network name and security
Set the WiFi 6 network name and security. Leave Smart Connect enabled initially unless a legacy device requires separate bands.
Check ADVANCED > Administration > Router Update and match the complete RAX50 model/hardware label
Check ADVANCED > Administration > Router Update and match the complete RAX50 model/hardware label.
Reconnect an AX-capable client, confirm it negotiates WiFi 6, then test an older 2
Reconnect an AX-capable client, confirm it negotiates WiFi 6, then test an older 2.4 GHz client for compatibility.
Back up the configuration after WAN, Wi-Fi and reservations are proven
Back up the configuration after WAN, Wi-Fi and reservations are proven.
Model acceptance checks
- The RAX50 reports Internet connectivity in Nighthawk and local management.
- An AX client negotiates WiFi 6 near the router.
- A legacy 2.4 GHz device joins under the selected security mode.
netgear rax50 questions
Should Smart Connect stay enabled?
Start with it enabled. Split bands temporarily only when diagnosing a legacy or band-specific connection.
How do I prove WiFi 6 is active?
Use an AX-capable client near RAX50 and inspect its negotiated protocol/link details.