TP-Link Archer AX55 at a glance
| Wireless | AX3000 dual-band WiFi 6 |
|---|---|
| Management | TP-Link Tether and tplinkwifi.net |
| Typical local IP | 192.168.0.1 |
| Firmware rule | Match Archer AX55 regional hardware version |
| Modes | Wireless Router and Access Point on supported firmware |
Read the complete hardware label
Archer AX55 has multiple hardware versions and regional downloads. Record the V-number before choosing firmware. Do not assume AX55 Pro files apply to the standard AX55.
Cable the WAN and run Quick Setup
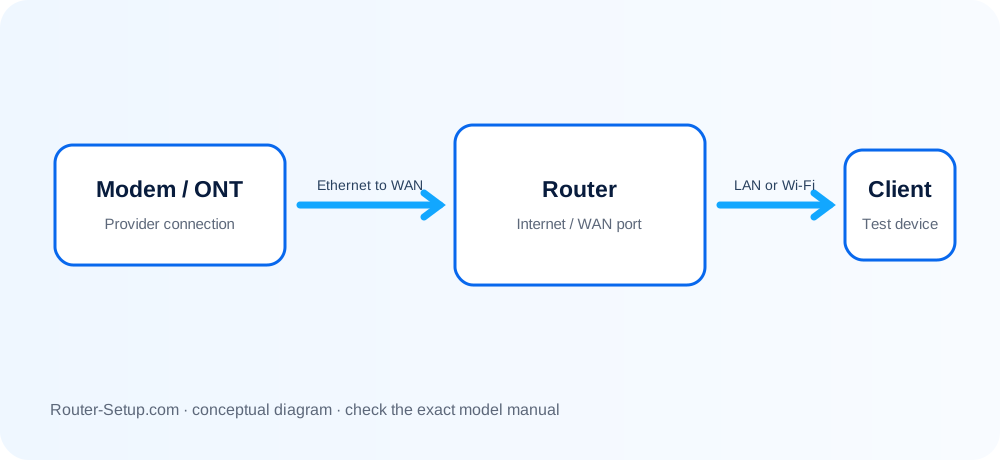
Connect the modem to the WAN port and join the printed TP-Link network. Open tplinkwifi.net or 192.168.0.1, create the local administrator password and select time zone and Internet type.
Dynamic IP, PPPoE and VLAN are not interchangeable
Cable connections commonly use Dynamic IP; many DSL/fibre providers use PPPoE credentials, and some require VLAN tagging. Obtain those details from the ISP rather than guessing.
Orange Internet light investigation
An orange Internet state normally means the router has no working upstream Internet. Check the WAN cable and status address, reboot upstream equipment and use MAC Clone only when the ISP binds service to the previous router.
Firmware, Access Point mode and reset
Update online through the web UI or with a file for the exact revision. Access Point mode disables router functions such as NAT. A factory reset clears Internet, WiFi, forwards and parental-control settings.
Complete TP LINK ARCHER AX55 setup sequence
AX55 setup depends on its hardware revision, region and ISP WAN/VLAN requirements. Finish basic connectivity before enabling cloud, QoS or mesh-related extras.
Read the AX55 hardware version and region before downloading anything
Read the AX55 hardware version and region before downloading anything. Connect modem to the blue WAN port.
Start the modem and AX55, join the label Wi-Fi and open tplinkwifi
Start the modem and AX55, join the label Wi-Fi and open tplinkwifi.net or the gateway address.
Create the local administrator password
Create the local administrator password. Select Dynamic IP, PPPoE or the ISP-supplied type and enter VLAN settings only when required.
Set the wireless name/security; begin with Smart Connect unless device compatibility requires separate 2
Set the wireless name/security; begin with Smart Connect unless device compatibility requires separate 2.4/5 GHz bands.
Set the correct time zone and verify Internet, DNS and one wired port before signing into optional TP-Link cloud features
Set the correct time zone and verify Internet, DNS and one wired port before signing into optional TP-Link cloud features.
Open Advanced > System > Firmware Upgrade (wording can vary by firmware) and use only the exact AX55 revision/region file
Open Advanced > System > Firmware Upgrade (wording can vary by firmware) and use only the exact AX55 revision/region file.
Test a WiFi 6 client, a 2
Test a WiFi 6 client, a 2.4 GHz smart device and any OneMesh/EasyMesh feature specifically supported by the installed firmware.
Model acceptance checks
- The AX55 hardware revision and installed firmware are recorded.
- The Internet page shows the expected WAN type and a valid address.
- A WiFi 6 client and a 2.4 GHz smart device both pass connection tests.
tp link archer ax55 questions
Where is the AX55 hardware version?
Read it from the underside product label before selecting regional firmware.
Why does tplinkwifi.net not open?
Connect to AX55 directly, disable VPN/mobile data and use the gateway shown by the client.