TP-Link Archer AX73 AX5400 at a glance
| Wireless | AX5400 dual-band WiFi 6 |
|---|---|
| Antennas | 6 external antennas |
| Setup | Tether app or tplinkwifi.net |
| Internet types | Dynamic IP, PPPoE and Static IP |
| Critical check | AX73 hardware revision and regional firmware |
Position the six-antenna AX73 correctly
Attach and orient all six antennas, keep the router open and elevated, and avoid hiding it beside metal or entertainment equipment. Antenna count does not overcome poor placement.
Complete web setup with the actual ISP type
From tplinkwifi.net create an admin password and run Quick Setup. If auto-detection fails, determine whether the line uses Dynamic IP, PPPoE, Static IP or an ISP VLAN.
Separate WAN trouble from wireless trouble
When wired clients also fail, diagnose the modem, WAN address and ISP authentication before changing WiFi channels. When Ethernet works but WiFi is slow, compare bands and client capabilities.
Use Smart Connect deliberately
A single SSID lets the router steer devices, but separate band names are useful during diagnosis. Some old clients may need WPA2 compatibility even though AX73 supports newer security options.
Revision-safe firmware and recovery
Download only from the AX73 page for the printed hardware revision and region. Extract the archive and do not interrupt upload. If the router becomes unresponsive, use only TP-Link’s recovery instructions that explicitly cover the AX model.
Complete TP LINK ARCHER AX73 setup sequence
Use this AX73 path to establish WAN and wireless performance first, then add advanced controls. Its firmware file must match the full AX73 regional hardware label.
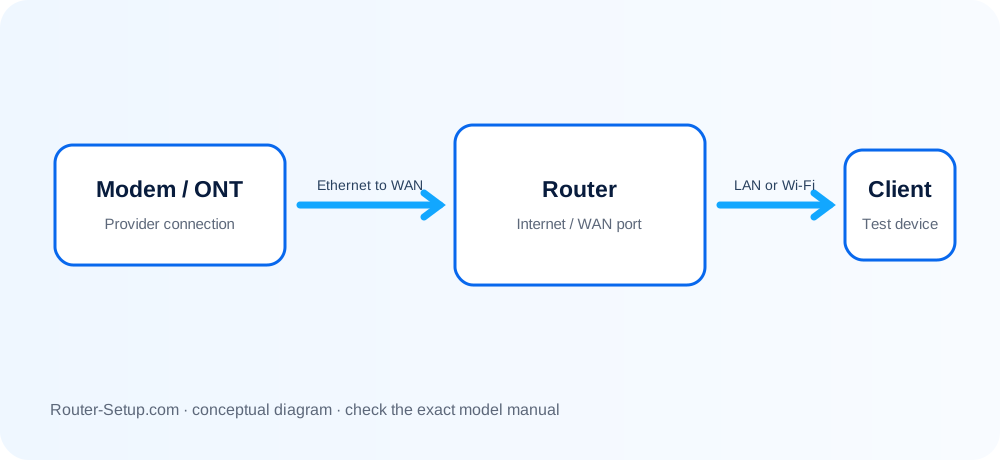
Connect the ISP device to the AX73 WAN port and use Ethernet for setup if available
Connect the ISP device to the AX73 WAN port and use Ethernet for setup if available.
Open tplinkwifi
Open tplinkwifi.net from the AX73 network and create a local administrator password.
Complete Quick Setup with the ISP connection type and IPTV/VLAN values supplied by the provider
Complete Quick Setup with the ISP connection type and IPTV/VLAN values supplied by the provider.
Configure wireless security and test Smart Connect before manually splitting bands or changing channel widths
Configure wireless security and test Smart Connect before manually splitting bands or changing channel widths.
Confirm the WAN address and run wired and close-range Wi-Fi tests before enabling QoS, parental controls or VPN features
Confirm the WAN address and run wired and close-range Wi-Fi tests before enabling QoS, parental controls or VPN features.
Back up configuration, then update through Advanced > System > Firmware Upgrade with the exact AX73 hardware revision and region
Back up configuration, then update through Advanced > System > Firmware Upgrade with the exact AX73 hardware revision and region.
After reboot, verify high-bandwidth clients, 2
After reboot, verify high-bandwidth clients, 2.4 GHz IoT compatibility and all reserved addresses.
Model acceptance checks
- The AX73 WAN, time zone and any IPTV/VLAN values are correct.
- Wired baseline and close-range WiFi 6 tests have been recorded.
- Reservations and critical advanced settings survived the firmware restart.
tp link archer ax73 questions
Should I enable QoS during setup?
Prove uncapped WAN and Wi-Fi performance first, then enable and test QoS separately.
Can AX55 firmware be used on AX73?
No. Firmware must match AX73, its hardware revision and region.