Linksys Velop MX4200 at a glance
| Product | Velop AX4200 WiFi 6 mesh node |
|---|---|
| Management | Linksys app |
| Roles | Parent or compatible child node |
| Backhaul | Wireless or supported Ethernet topology |
| Important | Light behaviour and reset must follow MX4200 documentation |
Choose and cable the MX4200 parent
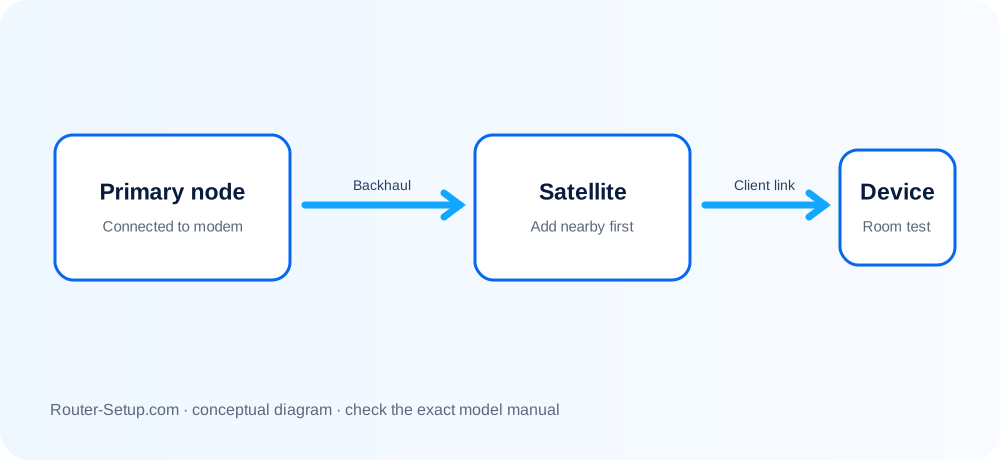
Select one MX4200 as parent and connect it to the modem. Complete app onboarding before expanding the mesh. Keep the phone on the setup WiFi and grant required local-network/Bluetooth permissions.
Add MX4200 children nearby
A child must be in a model-appropriate setup state and close to the parent for discovery. Once added, relocate it gradually and verify node quality in the app.
Do not interpret every red light identically
Check whether the red unit is the parent or child. The parent can be signalling Internet loss; a child can be signalling mesh loss. Reboot upstream equipment before erasing the network.
Use Ethernet backhaul intentionally
Ethernet can improve consistency, but connect nodes only after app setup unless the model guide directs otherwise. Verify that the app recognises the wired link and avoid switch loops.
Bridge mode, updates and reset
Bridge Mode is useful behind an existing router but can remove routing features. Keep all nodes current. Reset only a failed child first and use the MX4200-specific button duration and light sequence.
Complete VELOP MX4200 setup sequence
MX4200 commissioning must prove WiFi 6 clients, older 2.4 GHz devices and the chosen backhaul topology. Do not substitute classic WHW03 light instructions.
Connect one MX4200 as parent to the modem and use the Linksys app for initial discovery
Connect one MX4200 as parent to the modem and use the Linksys app for initial discovery.
Grant Bluetooth/local-network access, create the router password and complete Internet setup
Grant Bluetooth/local-network access, create the router password and complete Internet setup.
Verify the parent is online, then add each MX4200 child nearby one at a time
Verify the parent is online, then add each MX4200 child nearby one at a time.
Use the MX4200-specific ready/status light sequence rather than classic WHW03 purple-light instructions
Use the MX4200-specific ready/status light sequence rather than classic WHW03 purple-light instructions.
Relocate nodes gradually and inspect connection quality; move a red child closer before resetting it
Relocate nodes gradually and inspect connection quality; move a red child closer before resetting it.
If using Ethernet backhaul, complete onboarding, cable the node and verify the app recognises the wired path
If using Ethernet backhaul, complete onboarding, cable the node and verify the app recognises the wired path.
Choose Bridge Mode deliberately behind an existing gateway, update every node and test roaming plus wired ports
Choose Bridge Mode deliberately behind an existing gateway, update every node and test roaming plus wired ports.
Model acceptance checks
- An AX device connects through each intended MX4200 coverage area.
- A legacy 2.4 GHz device works with the selected transition security.
- The app shows the intended parent/child and wired/wireless roles.
MX4200 WiFi 6 commissioning checks
The MX4200 is not simply a faster version of a classic WHW-series node. Treat it as a modern WiFi 6 platform: confirm client capability, wired topology and channel behaviour separately from the basic app setup.
Confirm the client is actually using the intended node
Stand beside the MX4200 and check the client entry in the Linksys app. Record its node, band and negotiated connection before running a speed test. A phone can remain attached to a distant node after you move rooms, making a healthy MX4200 look slow.
Prove wireless and wired backhaul separately
First establish a stable wireless child near the parent. After relocating it, record the app’s connection quality. If Ethernet backhaul is required, connect a single known-good cable path and confirm the topology changes in the app. Do not connect redundant cables between nodes or switches; a loop can disrupt the whole LAN.
Test WiFi 6 without abandoning older devices
Use an AX-capable laptop or phone for the close-range WiFi 6 test, then reconnect a 2.4 GHz smart device. If the older device fails, diagnose band steering, security transition mode and onboarding distance rather than disabling modern features across the network immediately.
Verify recovery before final placement
Keep the parent administrator password, model labels and current firmware versions recorded. Learn which physical unit is parent and which are children. If a single child later fails, this information lets you reset and add only that unit instead of erasing the complete mesh.
MX4200 acceptance test
- An AX client connects beside each intended MX4200 and reaches the Internet.
- A legacy 2.4 GHz device can join with the selected security mode.
- The app shows the expected parent, child and wired/wireless backhaul roles.
- A video call continues while the client moves between node coverage areas.
velop mx4200 questions
Does MX4200 use the WHW03 purple setup instructions?
No. Follow the MX4200-specific light sequence in its documentation/app.
How can I confirm Ethernet backhaul?
Check the node connection type in the Linksys app after using a known-good, loop-free cable path.